Panopto desktop recorder
Find out how to download and use the Panopto desktop recorder.
Panopto desktop recorder
You can download the Panopto desktop recorder to your personal computer or access it from a UWE Bristol computer.
Download the Panopto desktop recorder
You can download the Panopto recorder from the Panopto Cloud.
Minimum system requirements
Download the Panopto for Windows recorder
1. Access the Panopto Cloud.
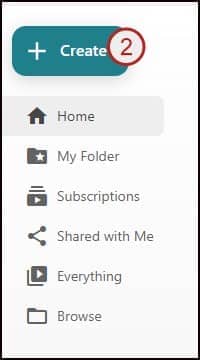
2. Click create.
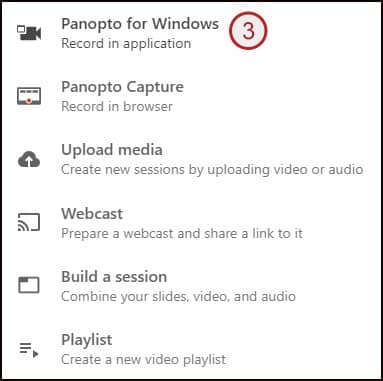
3. Click Panopto for Windows.
4. Select the appropriate download option and follow the on-screen instructions.
Alternatives to the desktop recorder
If you can’t download the Panopto recorder, you can use the Panopto Capture browser recorder.
If you also can’t use Panopto Capture:
- go to a computer lab/room on campus to make your recording
- use an alternative software to create an MP4 recording and upload it to Panopto
- try updating your operating system
Open the Panopto desktop recorder
Open from your desktop
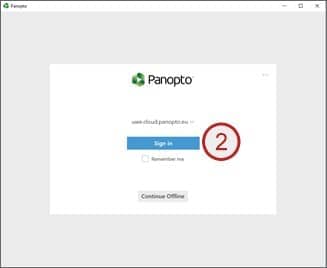
- Navigate to Panopto on the desktop.
- Click sign in.
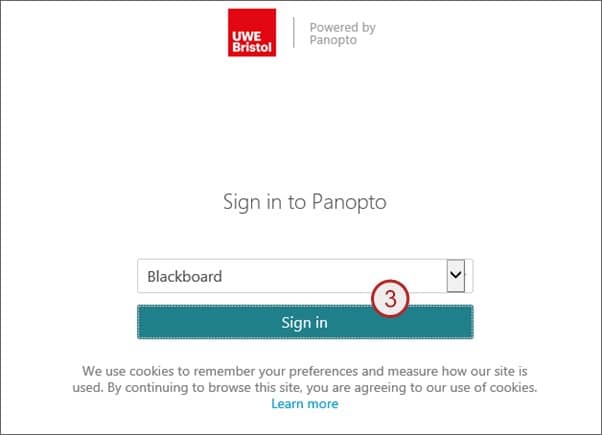
- Click sign in (keep the drop-down menu as Blackboard).
Open from the Panopto cloud
- Go to the Panopto cloud.
- Click create.
- Click Panopto for Windows (Record in Application)
- If required, click launch/open Panopto.
- If required, click allow/open Panopto recorder.
Guidance for Mac users
See Panopto's how-to video: Panopto for Mac
Recording for assessments
If you are creating your recording for an assessment, you need to submit it using the Panopto student submission option in Blackboard.
Make a recording using the desktop recorder
Before you record
- Check that the Panopto recorder is installed on the computer you want to record on. Find out how to download Panopto recorder.
- If you’re sharing a PC, check the correct person is logged into the recorder (user is shown top right of the recorder).
- PowerPoint presentations: You must save the file to the desktop. Your recording may fail to upload if you open a PowerPoint file from any other location on the PC.
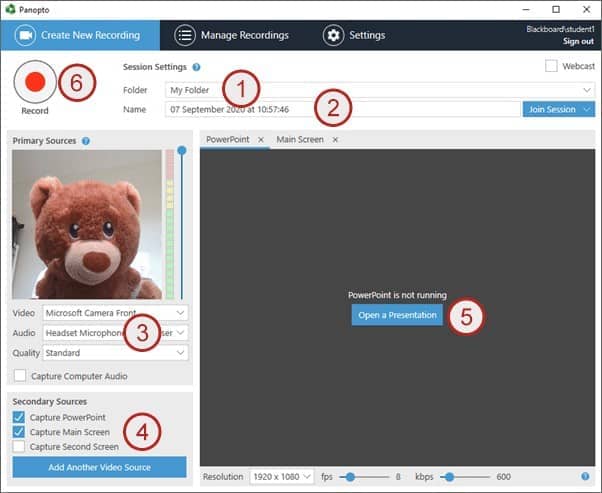
Record
- Select the My Folder option for the folder to be recorded to.
- Edit the recording name as appropriate (keep the date and time information in your session name to help identify recordings).
- Select your video and audio sources (primary sources). Set quality to standard.
- Select your recording options (secondary sources).
- Open a PowerPoint presentation if you’re using one. You must save the file to the desktop. Your recording may fail to upload if you open a PowerPoint file from any other location on the PC.
-
Click record.
-
Stop recording by clicking the stop button.

8. Allow the recording to upload.


When you stop recording and have uploaded the file, you’ll see the manage recordings tab. You can now log off/sign out of the computer. Do not shut down the computer as this will delay the processing of your recording.
The recording will now be accessible on the Panopto cloud.